Reviewed · DUBLIN TOURS
PicTours Dublin
Dublin looks great in photos, but this tour is interesting because it teaches you how to make those shots work in real life. I like that it blends street and architecture photography with practical Instagram know-how, so you are not just sightseeing with a camera. I also like the human side, the way guides slow things down and help you actually get the picture you want. One possible drawback: it is a walking tour, and some stops are short, so if you want to linger forever at a single spot, you might feel the pace.
This experience runs about 90 minutes and is led by a local influencer-style guide who focuses on what to shoot and how to shoot it. Guides like Anna, Diana, Shauna, Anu/Anupama, and David show up in the reviews, and the common thread is clear: step by step photo tips that work even if you are not a “camera person.” The other detail to note is that the tour ends at a different point each time, so your “where do I finish?” answer depends on the day.
Photography With an Instagram Twist: What You Really Get in 90 Minutes
PicTours Dublin is built around one simple idea: you can learn faster if someone guides your eyes. Instead of “stand here and take a photo,” you get mini lessons that connect light, color, framing, and posting. You also get a steady flow of Dublin landmarks, including Grafton Street and St Stephen’s Green, plus indoor and art-installation moments.
The tour also has a “local story” vibe. People in the reviews mention history plus a relaxed feel, and that matters, because good photos often come from knowing what you are looking at. You are not just snapping. You are understanding the scene, and then using that to compose better shots.
Price is a big part of the value story. The listing shows $0.00 per person, which is rare for a guided, technique-focused walking tour. If it is truly free at booking, that is an excellent deal for the time you invest. Still, I would treat it like a popular, small-group activity, not a guaranteed private session.
Key Highlights You Should Know Before You Meet the Guide
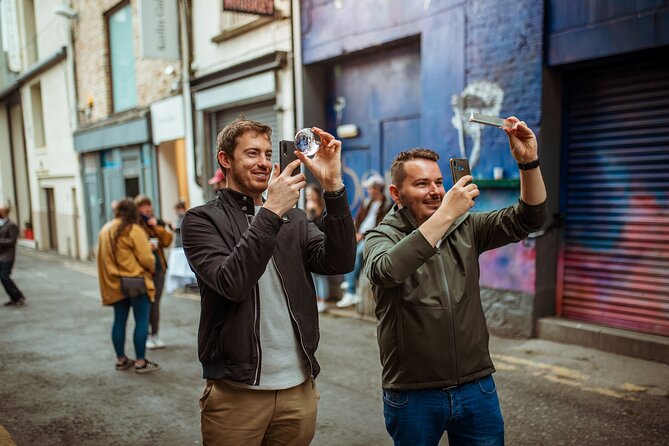
- Built for phone cameras, especially iPhones: you get tips that help you use features you might ignore
- Short stops, clear photo goals: each location comes with a specific type of shot to try
- Instagram skills that connect to real shooting: posting timing, hashtags, and filters are part of the lesson
- A mix of outdoor light, indoor architecture, and street scenes: you practice multiple styles, not just one
- Two secret locations at the end: the final stops can change daily based on weather and current interests
- Small group size: up to 15 travelers, which makes it easier to get feedback during the walk
Other ways to spend a day in Dublin
- Dublin to Cliffs of Moher, including Wild Atlantic Way and Galway
★ 5.0 · 23,331 reviews - From Dublin: Cliffs of Moher, Burren & Galway City Day Tour
★ 4.8 · 18,888 reviews - Dublin: Guinness Storehouse Entry Ticket
★ 4.6 · 16,863 reviews
Meeting Point and Timing at Fusiliers’ Arch
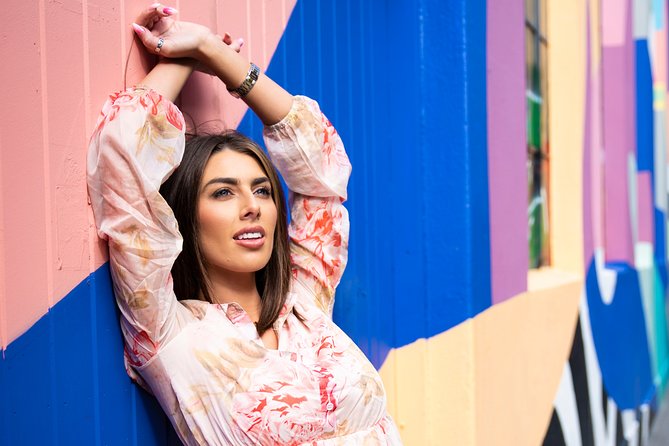
Your start point is Fusiliers’ Arch, St Stephen’s Green, Dublin (D02 HX65). The tour begins at 2:00 pm, and it is labeled in English. It is also a mobile ticket experience, so you will want your ticket ready on your phone.
The tour is designed to be easy to reach with public transport, and it allows service animals. Most people can join, but remember: it is still a walking tour, and each stop is roughly 15 minutes except the final segment.
One more practical note: the tour ends at a different point in Dublin, so plan for a nearby break or transport option. If you have a tight schedule right after, give yourself a little buffer.
Stop 1: St Stephen’s Green for Nature and Wildlife Shots
St Stephen’s Green is the warm-up. You start with a beginner-friendly photography technique aimed at capturing nature and wildlife. Even if you are not shooting animals, the park gives you something useful: soft, forgiving light and lots of greenery textures.
In this first segment, you are learning how to “master the shot” quickly, which is exactly what you want at the start of a tour like this. If you already know basic settings, you can still benefit by learning what composition and timing matter most here.
What to expect
- Early technique practice in a calm setting
- Guidance that helps you frame what you see, not just point-and-shoot
Potential drawback
- The stop is about 15 minutes, so if you want to hunt for one perfect wildlife subject, you may need to accept that the lesson is time-boxed.
Stop 2: St Stephen’s Green Shopping Centre for Interior Architecture
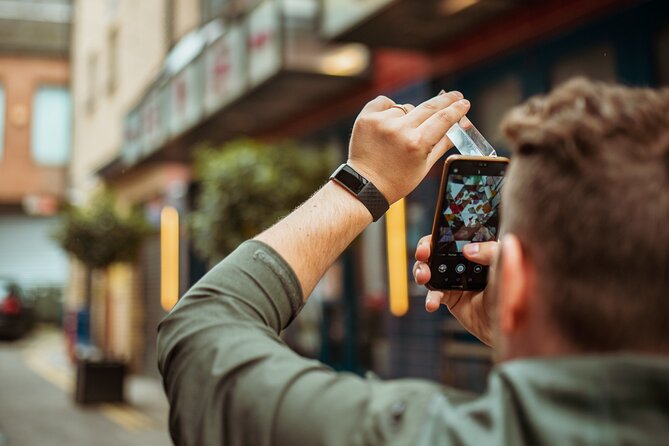
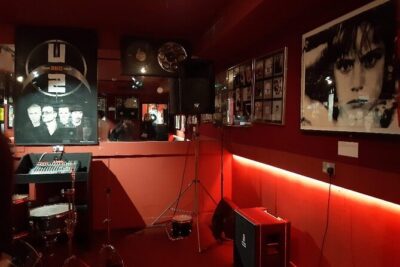
Next you head indoors to the St Stephen’s Green Shopping Centre. This is where the tour shifts from greenery to geometry. The guide focuses on capturing the best interior designs, and the location comes with its own cultural background tied to U2’s early gigs and trading hall.
Indoors is a great place to learn because lighting is harder. You cannot rely on open sky the way you can outside. You learn how to handle the scene so lines look clean and your photos do not feel flat.
What makes this stop valuable
- You practice interior shots within a short time
- You get an architecture angle, plus a first round of Instagram tips
What you might miss
- If you hate crowds or tight indoor spaces, you might want to keep expectations realistic. The stop is short and focused, so it is not a long wander.
If this is not quite it, Dublin also does these:
- Dublin to Cliffs of Moher, Burren, Wild Atlantic Way, Galway Tour
★ 5.0 · 12,924 reviews - Dublin to Belfast Black Cab, Dunluce Castle and Giant’s Causeway
★ 5.0 · 7,954 reviews - Kilkenny, Wicklow Mountains & Glendalough Day Tour from Dublin
★ 5.0 · 7,897 reviews - From Dublin: Wicklow Mountains, Glendalough & Kilkenny Tour
★ 4.8 · 6,235 reviews
Stop 3: Grafton Street Street Photography and Busker Light
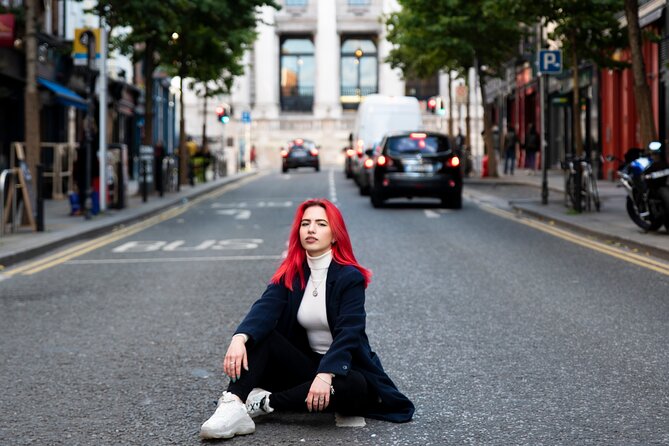
Then comes Grafton Street, Dublin’s busiest and most famous street. This is the “motion and light” lesson. You walk through street photography basics, with specific guidance on how to maximize lighting for your shot.
This is also one of the easiest places to find a story. You hear buskers night and day, and you can use the human moments to add energy to your photos. Even if you do not photograph performers directly, the street rhythm helps you compose better.
On the Instagram side, this is where you learn how to filter photos and what hashtags can help with discovery. The idea is simple: you cannot control the whole algorithm, but you can help your post be found by people who want the style of travel photography you are making.
Why this stop works
- Real streets, real light conditions
- Plenty of subjects to practice framing, timing, and exposure
One consideration
- It is busy. Your best shots here will take quick decisions, not slow contemplation.
Stop 4: Anne Street South and the Umbrella Art Installation
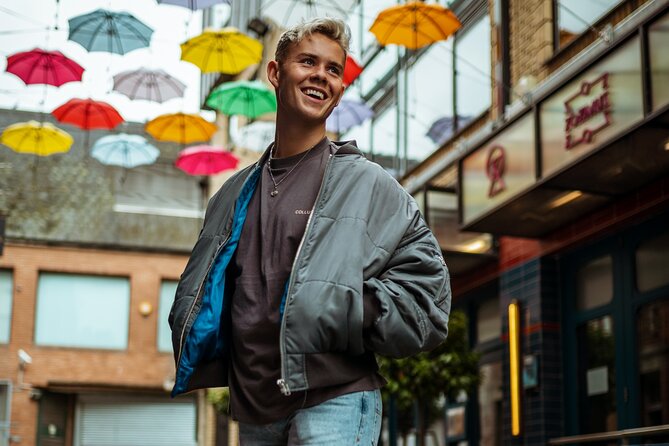
Anne Street South is a visual reset. You head to a back street to see a famous art installation with umbrellas. This is where color and contrast become the main focus, and the guide ties the lesson to real lighting that is already available.
This stop is smart because it teaches you something that matters everywhere in travel photography. When the scene is colorful and slightly chaotic, your job is to make your subject pop. You learn practical ways to do that, rather than relying on an app to fix everything later.
You also get posting advice aimed at timing your Instagram posts so friends and followers actually see them. Again, it is not magic. It is just better timing and better choices.
What to try
- One “contrast-first” photo
- One “color-first” photo
Small risk
- Since it is about making the most of available light, your results depend on what the light is doing that day. Umbrellas look great in the right conditions, but you are still learning.
Stop 5: Two Secret Dublin Locations for Your Final Practice Round
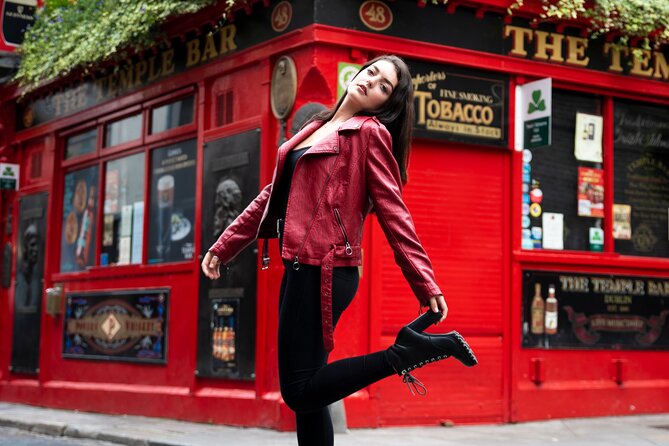
The last stretch is the fun mystery part. You get two secret locations meant to show you lesser spotted Dublin. You only find out where they are by going on the tour, and the locations can change daily due to weather, new art installations, and interest in your specific group.
This part is longer, about 30 minutes, so you have more time to apply what you learned. It is also a great chance to ask the guide for quick feedback on your approach. If you have been struggling with one thing, this is where you can correct it and end the tour with shots you are genuinely proud of.
One tip: tell your guide your preferences for specific areas or photography styles you want to learn. The tour explicitly encourages this, and it usually leads to a more satisfying final set of photos.
Why the Free Price Feels Like a Deal (and What to Expect Anyway)
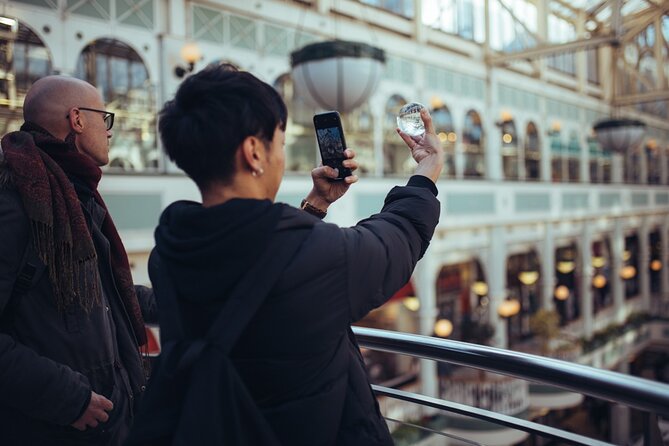
The listing price is $0.00 per person, which changes the value equation. You are basically paying with time and walking energy, not money. For a guided 90 minutes across multiple famous and practical shooting stops, that is a strong deal.
But a “free” tour should still be judged fairly. Here is the balanced take I would use before booking:
- You are learning techniques and Instagram skills, not buying fancy gear. The tour does not include camera equipment.
- You should show up ready to use your own phone, accept that results depend on conditions, and follow the guide’s directions.
- You may walk away with extra photos from the guide. Reviews mention people receiving a collection of photos after the tour, and others describe getting notably better images even on similar phones.
If you want a guaranteed pro photoshoot with gear and long sessions, this is not that. If you want to learn fast and come home with better pictures using what you already have, it is a great fit.
The Guides: Real Feedback That Makes the Difference
What shows up again and again in the reviews is how guides handle different comfort levels.
- Anna gets praise for making people feel at ease and mixing history knowledge with photography tips.
- Diana is described as patient, answering questions in a meaningful way, and the tour working well even for kids.
- Shauna is highlighted for teaching techniques in a way that even a not-tech-savvy person could implement, with encouragement when mistakes happened.
- Anu and Anupama show up in reviews for giving 1:1 feedback when the group is small, and for sharing tricks to use iPhone features effectively.
- David gets called out for personable guidance and for combining history with practical shooting tips.
That last part matters: you are not just learning camera language. You are learning how to see Dublin in a way that makes the photos easier.
Who This Tour Suits Best
This is ideal if:
- You have an iPhone or smartphone and want to level up quickly
- You like Instagrammable spots, but you also want to understand how to shoot them better
- You want a small group atmosphere with a guide who can answer questions
- You are the type who benefits from short missions, take the shot, then learn the fix
It might be less ideal if:
- You dislike walking or want a slow pace with long stops
- You expect the guide to provide camera equipment (they do not)
- You only want deep history lectures, because this is primarily a photography practice tour with stories woven in
A Quick Reality Check: Cancellations Can Happen
On rare occasions, the tour can be canceled if a guide becomes unavailable. One posted situation described a cancellation when the guide tested positive for COVID on the day, with a refund provided. If you are traveling soon and the tour matters a lot to your plans, it is smart to book with flexibility.
Should You Book PicTours Dublin?
If the tour is truly free at the time you book, I think it is an easy yes. You get multiple Dublin photo stops, a clear structure, and hands-on learning aimed at improving your shots right away. The strongest reason to book is the teaching style people describe: patient guidance, practical tips for phone cameras, and feedback that helps you actually improve.
Book it if you want a confident reset for your travel photos. Book it if you want to feel like Dublin’s sights are more than postcard scenery, but still enjoy a relaxed walk.
Skip it only if you want a gear-based shoot, long lingering at each location, or a purely history-heavy experience. Otherwise, this is a smart way to start exploring and leave with better memories than you started with.
FAQ
How long is the PicTours Dublin photography tour?
The tour is listed as about 1 hour 30 minutes.
Where does the tour start?
It starts at Fusiliers’ Arch, St Stephen’s Green, Dublin (D02 HX65, Ireland).
What language is the tour offered in?
The tour is offered in English.
Is camera equipment included?
No. Camera equipment is not included, so you will use your own phone or camera.
How many people are in a group?
The experience has a maximum of 15 travelers.
What stops are included during the tour?
You will visit 5-7 spots over about 90 minutes, including St Stephen’s Green, St Stephen’s Green Shopping Centre, Grafton Street, Anne Street South, and two secret locations at the end that can change daily.
Newest Dublin reviews
- Dublin: Traditional Pubs Walking Tour with Local Guide★ 4.9 · 112 reviews
- Dublin: Cliffs of Moher, Ennis, & Bunratty Castle Day Tour★ 4.9 · 113 reviews
- Meet and Eat Dublin: Dublin Food Walking Tour★ 5.0 · 115 reviews
- Small Group-Dublin Walking Tours★ 5.0 · 116 reviews
- A Silent Disco Walking Tour★ 5.0 · 118 reviews
- 3-Day Southern Ireland Tour Including Galway and Kerry from Dublin★ 4.5 · 123 reviews
- From Dublin: Wicklow, Glendalough, Waterfall & Sheepdog demo★ 4.5 · 126 reviews
- Dublin: Guinness Storehouse Connoisseur Experience★ 4.8 · 123 reviews
Dublin Tours, compared.
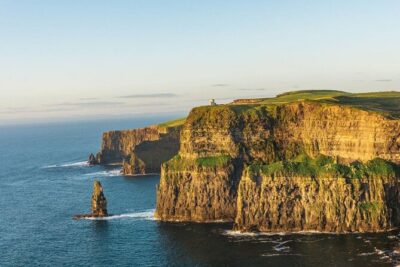
Dublin to Cliffs of Moher, including Wild Atlantic Way and Galway
Read our review →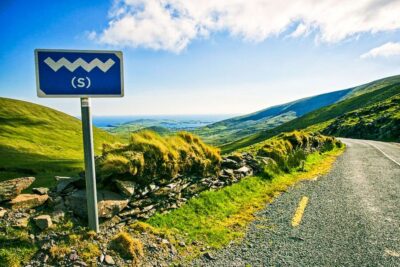
Cliffs of Moher, Burren & Galway City Day Tour
Read our review →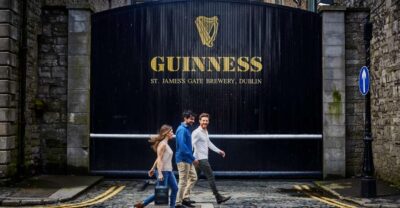
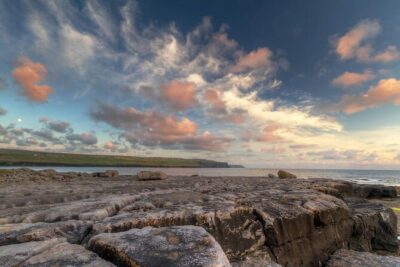
Dublin to Cliffs of Moher, Burren, Wild Atlantic Way, Galway Tour
Read our review →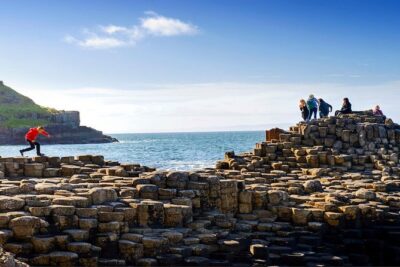
Dublin to Belfast Black Cab, Dunluce Castle and Giant’s Causeway
Read our review →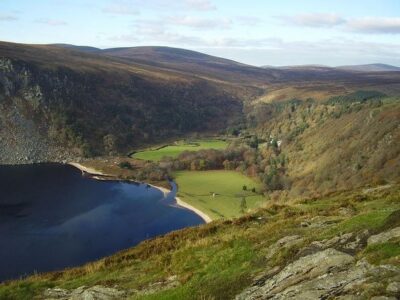
Kilkenny, Wicklow Mountains & Glendalough Day Tour from Dublin
Read our review →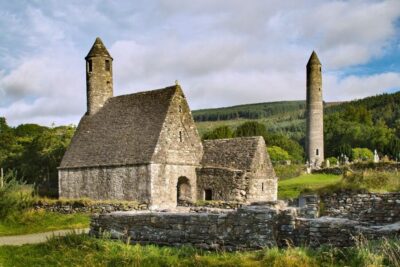
Wicklow Mountains, Glendalough & Kilkenny Tour
Read our review →